How to Build a Professional Discord Server: Step-by-Step Guide
How to Create a Discord Server: A Step-by-Step Comprehensive Guide
Discord servers are custom-built digital spaces designed to connect friends, family, or entire communities sharing common interests. Whether you want a private hangout for your gaming squad or a public hub for your study group, setting up a server is fast and straightforward. You can establish the core structure in just a few minutes and tweak the finer details later as your community grows.
Step 1: Lay the Foundation of Your Server
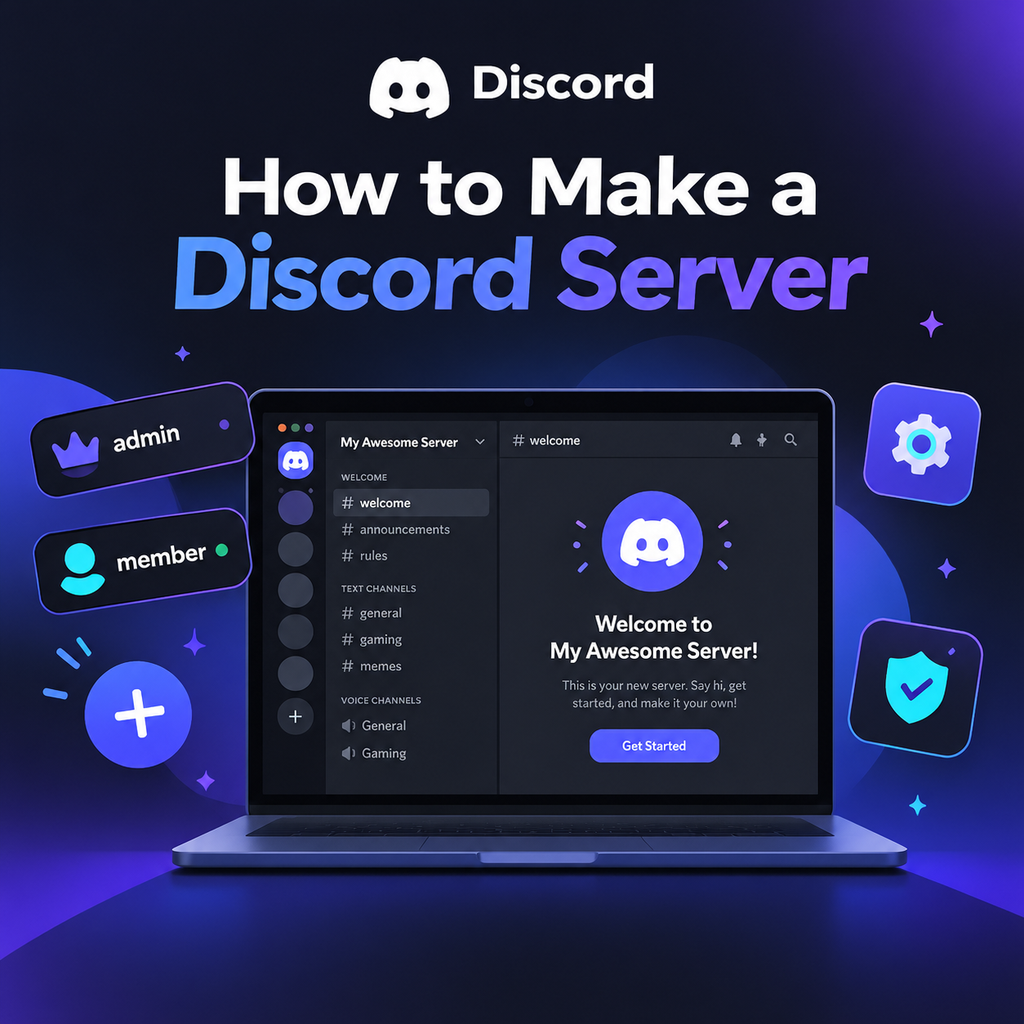
First, launch the Discord application on your desktop or open it directly in your web browser. Once signed in, locate the plus (+) sign (Add a Server icon) at the bottom of your server list on the left side.
When prompted, select Create My Own for total control over the setup. Next, choose your server's purpose:
-
For me and my friends (Ideal for private, smaller groups)
-
For a club or community (Built for wider audiences)
This selection configures default permissions, though you can change them anytime. Finally, name your server and optionally upload an icon. A square image of 512x512 pixels delivers the cleanest look. Hit Create, and your server goes live with default text channels like #general and a standard voice channel.
Pro Tip: Don't stress too much over the name or icon right away. You can modify both whenever you like through Server Settings.
Step 2: Design a Clean Channel Structure
Channels are the core of your server, organizing conversations by topic. A common mistake in newly launched servers is creating too many channels right away, which makes the layout feel empty. Start with a lean, minimal setup:
-
Welcome & Announcements:
#rules,#announcements -
Text Chat:
#general-chat,#media-sharing -
Voice Rooms: Lounge or gaming rooms
Organize related channels using categories. Just right-click your channel list to create a category, then drag and drop your channels inside it. Add more channels gradually only when existing ones become consistently busy.
Step 3: Manage Roles and Permissions
Roles control what members can view and execute within your server. Discord operates on a top-down hierarchy, meaning roles positioned higher on the list hold more authority.
-
Go to
Server Settings > Rolesto build roles like@admin,@moderator, and@member. -
Assign only the permissions each role strictly requires. For example, give moderators message management or ban capabilities while restricting regular members to basic access.
-
Avoid granting full Administrator rights to everyone.
-
Make sure bot roles are positioned above any roles those bots need to manage.
Step 4: Configure Security and Server Settings
Before inviting anyone, head over to Server Settings > Overview and ramp up the verification level to at least Medium (requiring a verified email to deter raids and bots). Head to Safety Setup to turn on AutoMod for automated spam and explicit filter protection. Setting notification defaults to "Only @mentions" also prevents members from getting overwhelmed by constant pings.
Step 5: Add Useful Bots and Welcome Messages
Bots inject automated moderation, music, and games into your ecosystem. Moderation helpers like Dyno or Carl-bot are great choices. When adding bots, never grant them Administrator privileges unless you completely trust them. Pin a brief, clear welcome guideline message in your #rules channel.
Testing Phase: Before making your server public, log in using an alternate account to double-check that your roles, channel permissions, and bots function precisely as intended.
Step 6: Invite Members and Scale Your Community
Once everything is polished, hit the Invite People button. For private hangouts, generate single-use links that expire within 24 hours. For public hubs, create permanent invites and share them across relevant social media channels or community lists.
Your earliest members are vital—spark engagement by hosting regular game nights, watch parties, or events. By starting small and iterating based on real feedback, you will build a vibrant, long-lasting hub. Hit that plus button and kick off your journey today!